Working with Containers
In this section you'll learn a variety of methods for managing and building containers and images with Turbo Studio and the command-line interface. You'll also learn how to integrate containerization with your continuous integration server.
Creating Containers
The turbo new command starts new containers. You must specify a base image to provide the virtual filesystem and registry for the container. If no files or registry keys are necessary, use the empty clean image.
# Launch a command window in a new container with clean as the base image
> turbo new clean
Operations executed in the new command window are applied to the container, not the host system. This means you do not have access to local files, the container is fully isolated.
To avoid confusion, the prompt is prepended by the image name and the first 8 characters of the container ID when a command window is running in a container. Alternatively, a container can be assigned a name, this will be illustrated in the Installing MSI Packages in Containers section.
# Host command window
> turbo new clean

# Container command window
(clean#0bad25c4) >
Edit and modify the container's virtual filesystem and registry using the same command-line interfaces available in Windows Command Prompt.
Installing MSI Packages
Installing MSI packages in containers is supported, but in some instances an install may fail e.g. a custom action may attempt to runs but fails when run in the fully isolated Turbo VM. If an MSI install fails, try creating the container using Turbo Studio.
This section will detail steps for creating a container for InstEd, a popular MSI editor.
Begin by downloading the application here
Copy the MSI to a new directory: C:\Installers on your local machine.
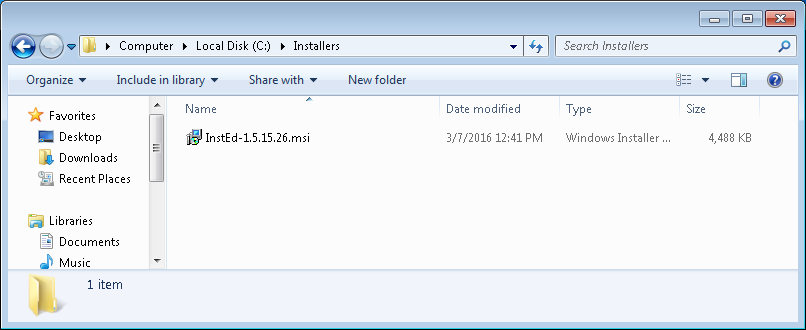
By design the Turbo VM is fully isolated and does not permit access to local files. In order to use the MSI in your local C:\Installers directory, you must poke a hole in the isolation. Use the --mount flag to poke a hole in the isolation. Use the -n flag to set a name for the container.
# Poke a hole in isolation
> turbo new clean --mount="C:\Installers" -n=instedcont
Launch the install.
# Install InstEd
(instedcont#95c15a32) > C:\Installers\InstEd-1.5.15.26.msi
When prompted, click Next.

Click on the checkbox to agree to accept the terms in the license agreement and then click Next.

Click Next.

Click Install followed by Finish.
Exit the Turbo VM from the launched command prompt.
# Close Turbo VM
(instedcont#95c15a32) > exit
Once you finish editing a container, it can be saved and distributed in the form of images. For more information on images, read on here.
Ensure the --startup-file flag is set to the application's main executable. Provide an image name, in this example use instedit.
# Commit container into an image
> turbo commit instedcont --startup-file="C:\Program Files (x86)\instedit.com\InstEd\InstEd.exe" instedit
By default, the commit command merges sandbox changes with the base images and builds a new image from these merged layers. Specifying the "--no-base" option builds a new image of the sandbox changes without merging the base images.
Test the new InstEd image.
# Launch a new instance of Insted using the instedit image
> turbo new instedit
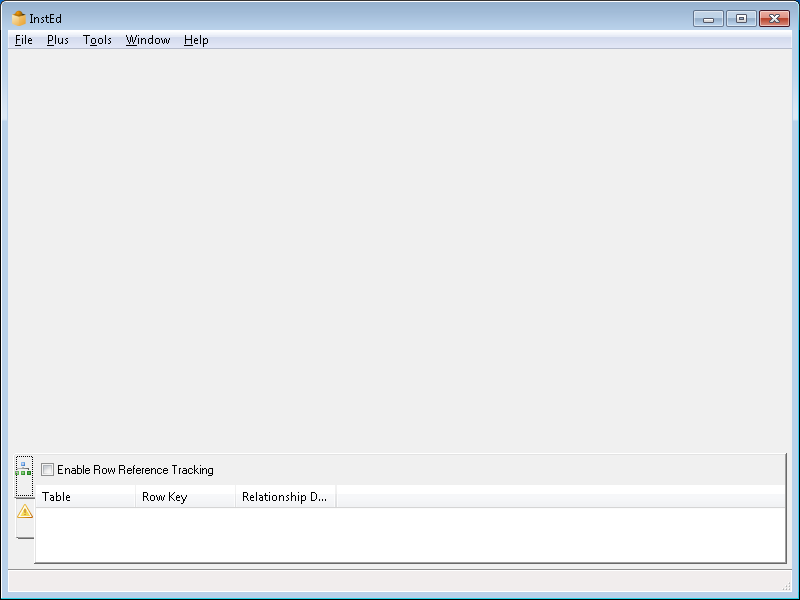
Accessing Local Files
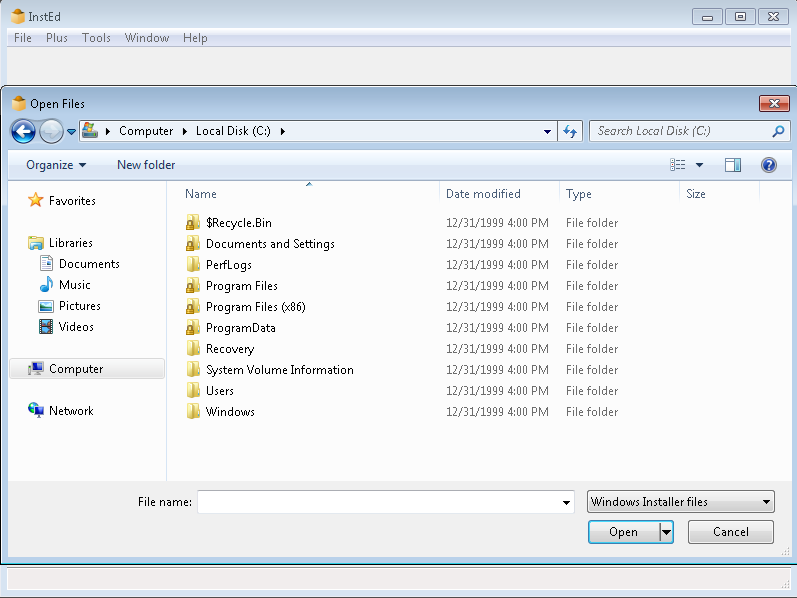
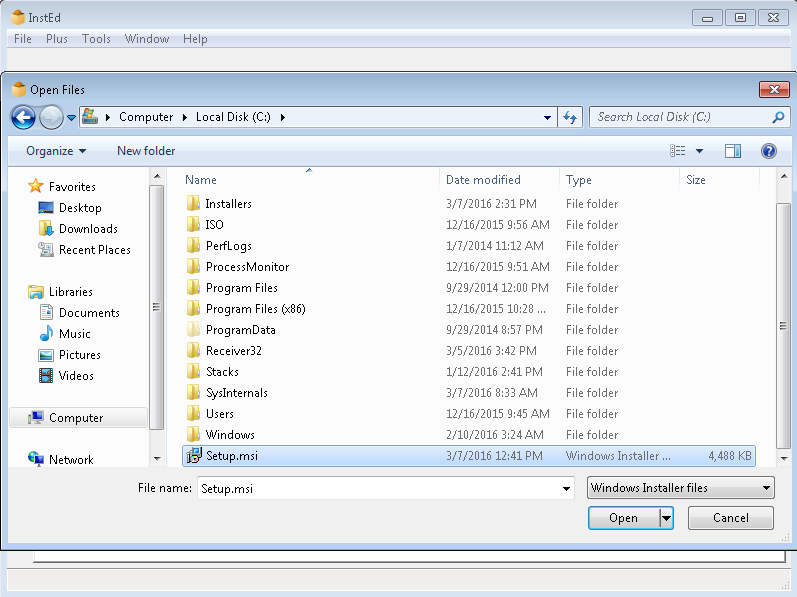
You may notice when attempting to open an MSI on your local machine, you will not have access to it. Similarly, when creating a new MSI and attempting to save to a local machine directory, you will not be able to save locally. This is expected behavior. By default containers run in full isolation. Use the --isolate flag to launch a new instance of InstEd with isolation set to merge with the local system.
Launch application with access to local files.
# Launch instedit image
> turbo new instedit --isolate=merge
You will now have access to any local files.
Pushing Images to the Hub
We created an image which can be pushed to our Hub and run by anybody. To do this, we must first login to Turbo.net from the command prompt. Enter turbo login and then enter your turbo username and password when prompted.
# Login
> turbo login
Push the image by entering turbo push %lt;imagename>.
# Login
> turbo push instedit
Publishing Images
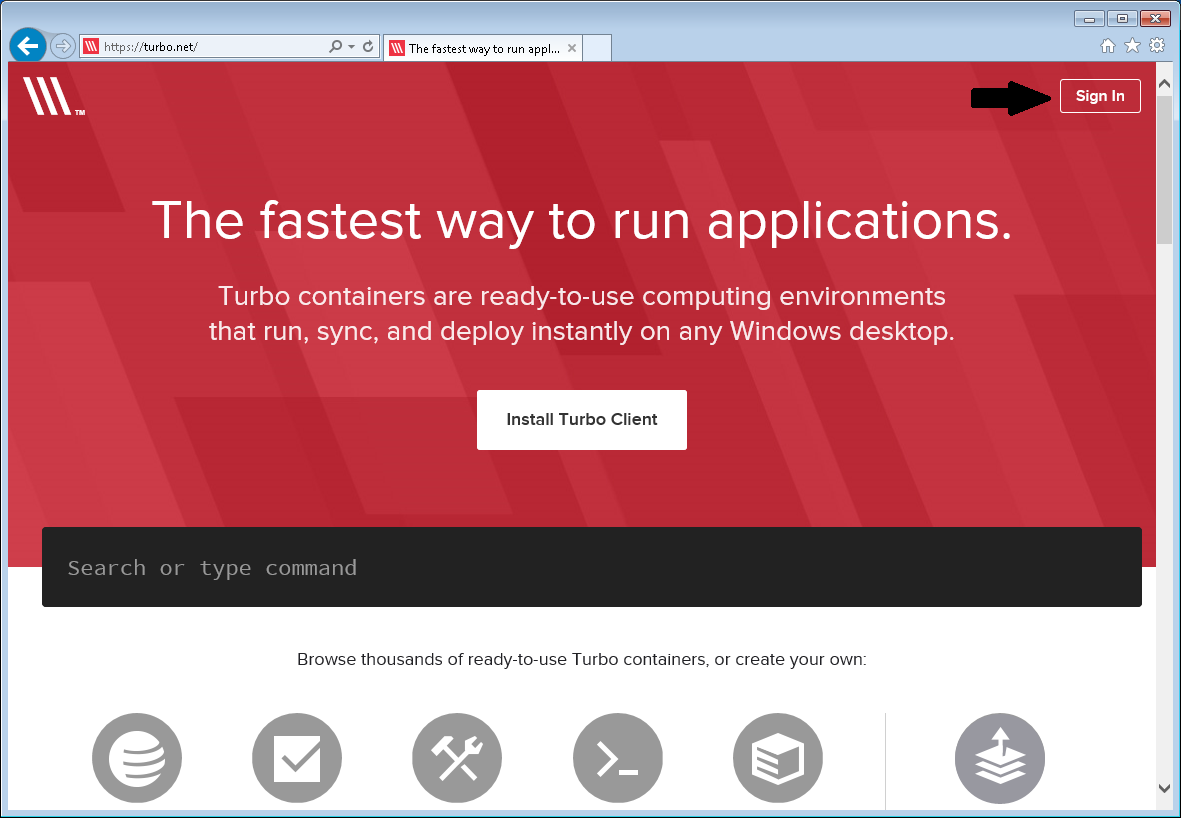
Our image has been pushed to the Hub. Now we will configure the repo settings and other publishing settings. Navigate to Turbo.net and clicking Sign In.
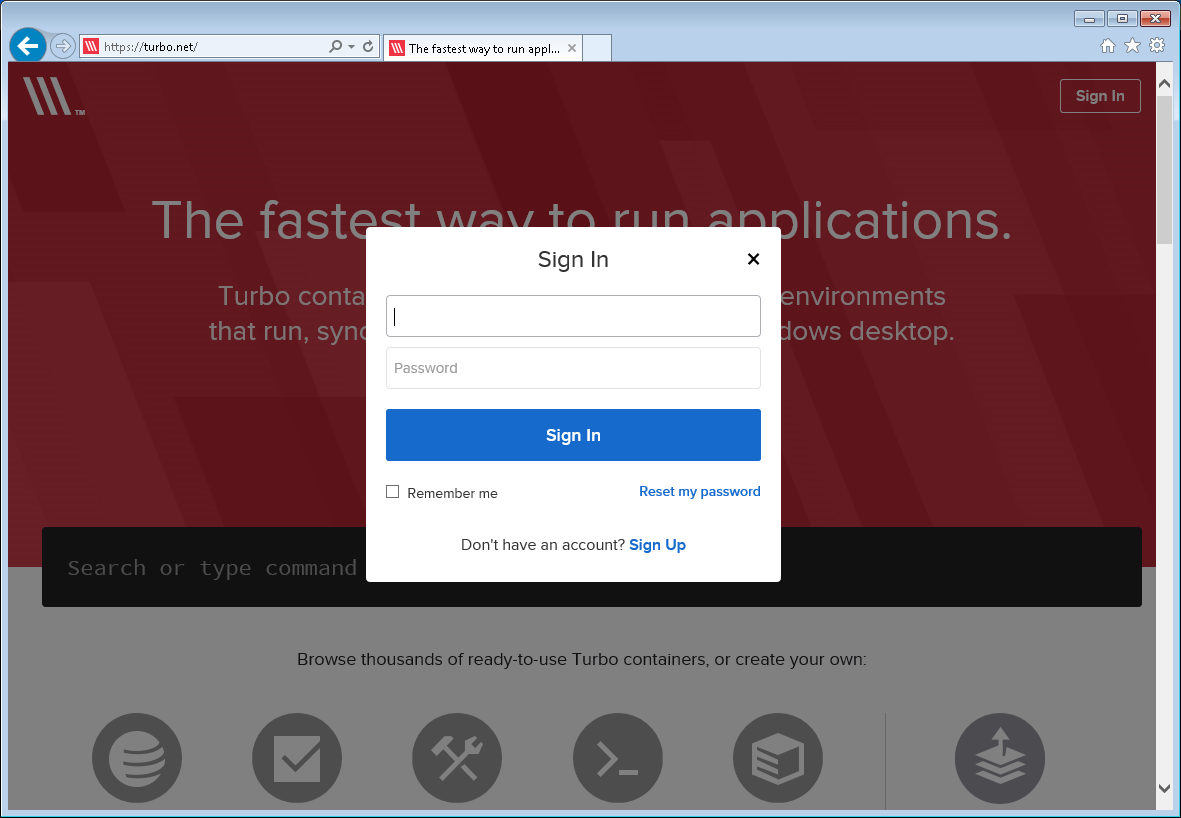
If you do not have a Turbo.net account click Sign Up to create a new account. If you do have a Turbo.net account, enter your Turbo.net username and password and then click Sign In.
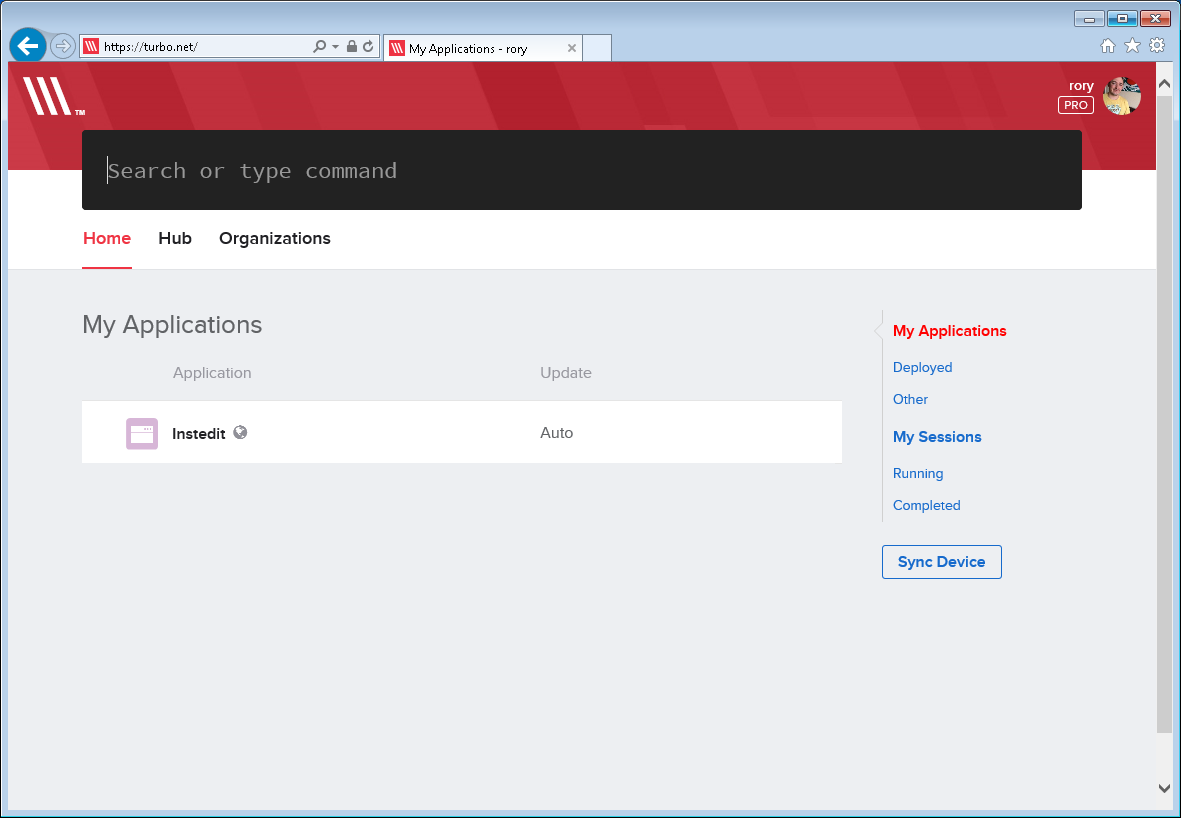
After logging into Turbo.net you are presented with your home screen that contains your applications. Click on instedit.
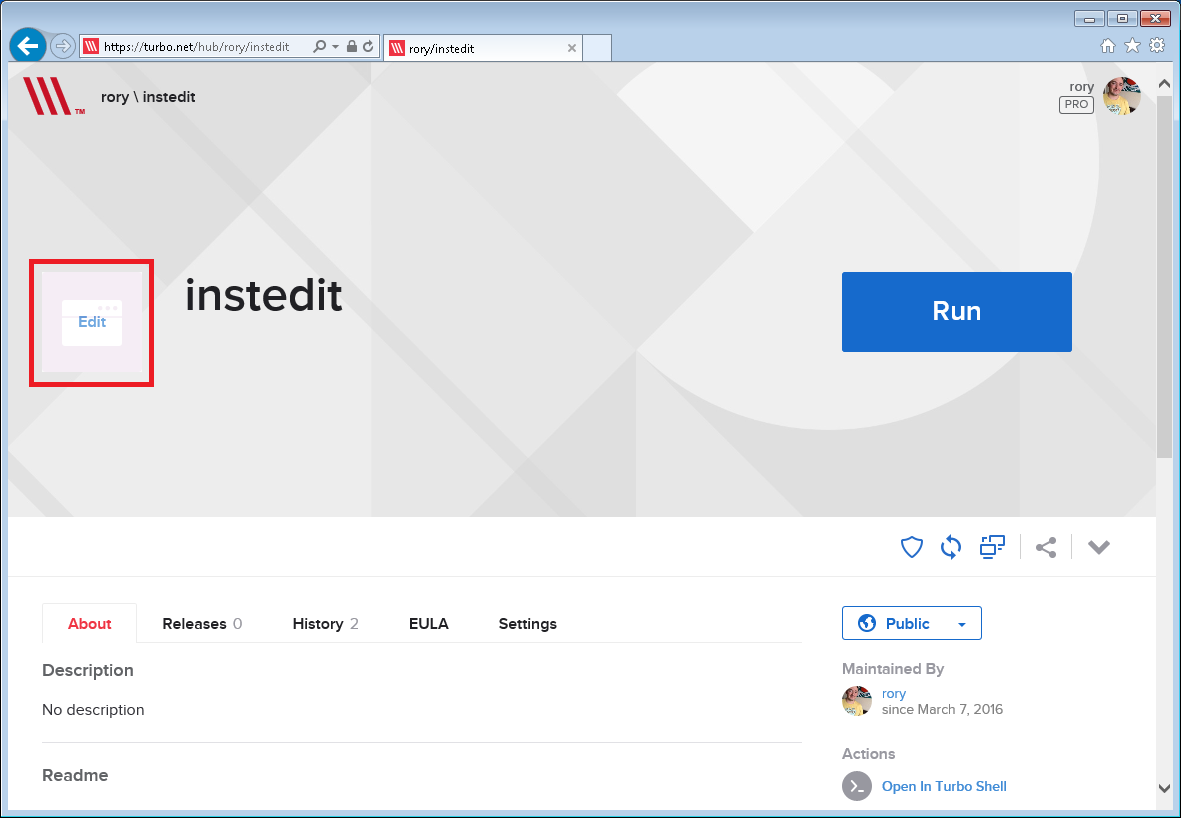
Hover over the large icon in the header of the page to upload a suitable image for the application. Hover just below the instedit text in the banner and click edit to provide a description.
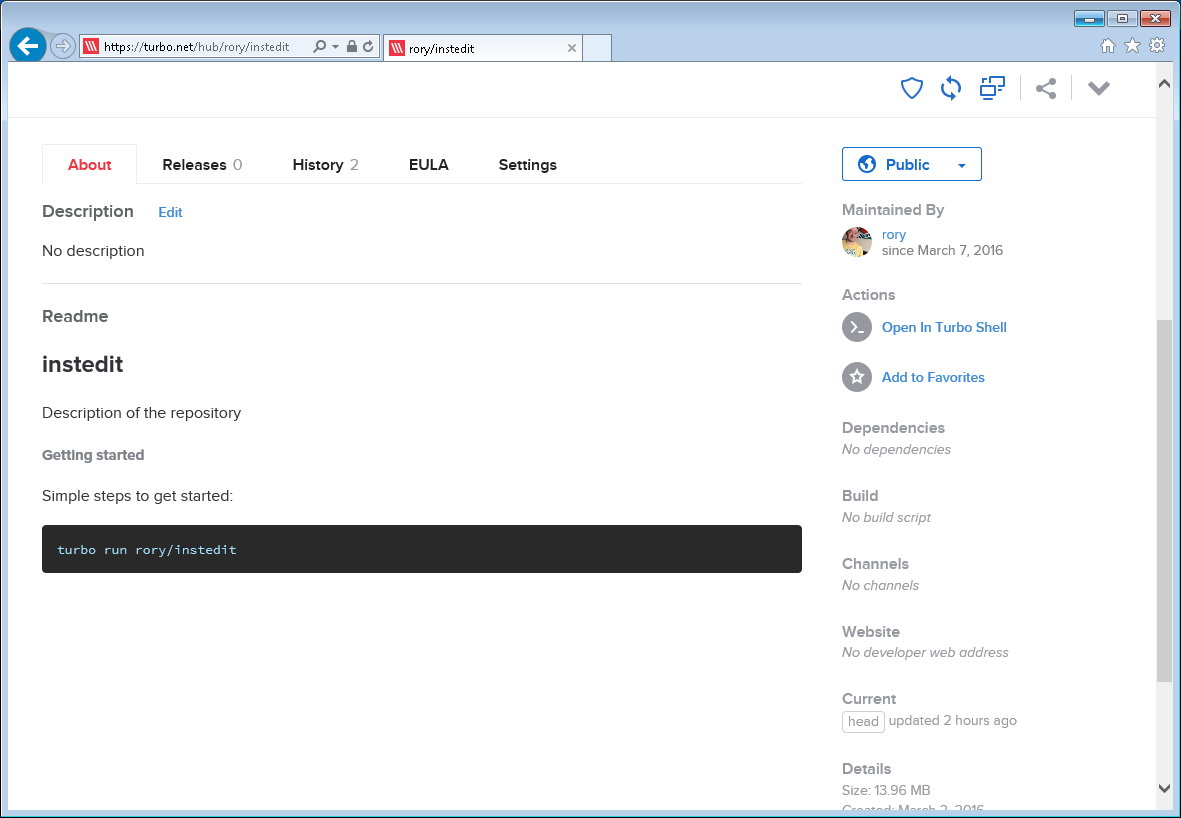
On the same page, hover beside the description heading and click edit to provide a description of the application. When complete, hover over the readme heading and click edit to provide information useful to people who may try to use your image. e.g. what commands should be used.
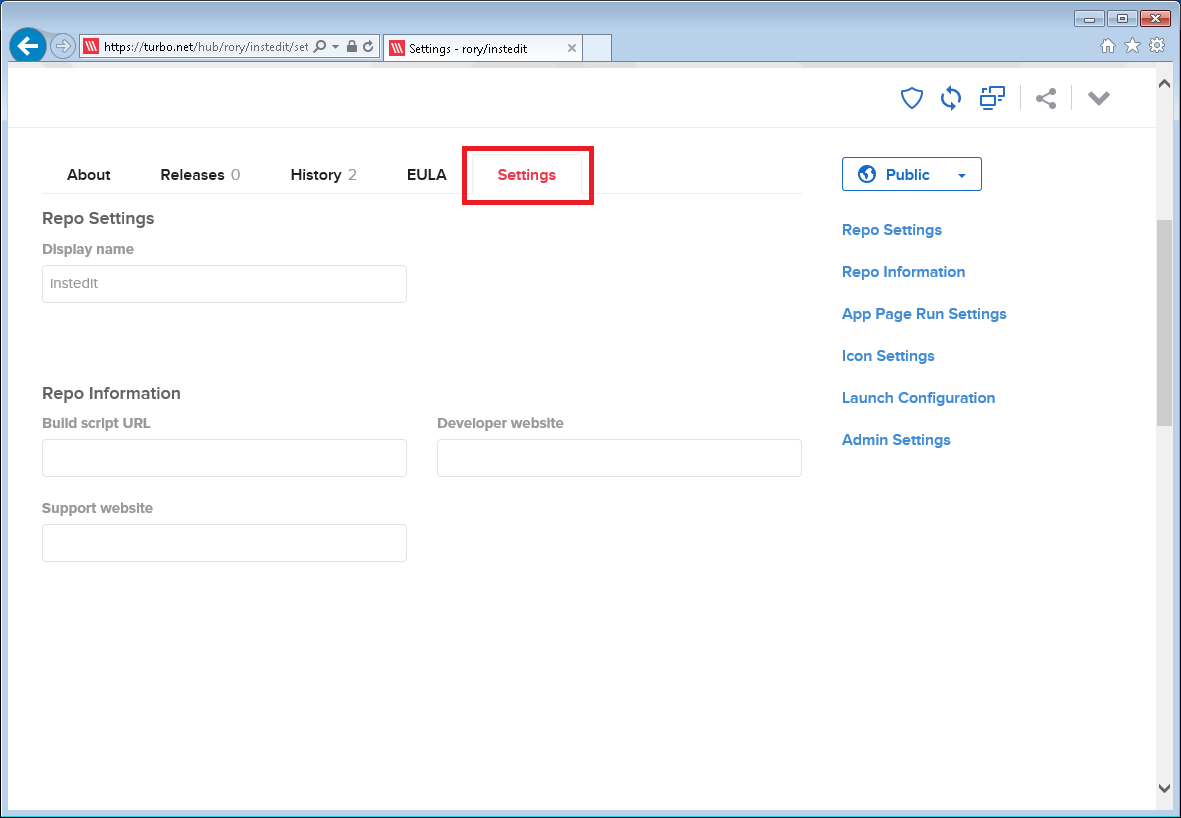
Navigate to Settings. A default display name is set, you can change this to something more appropriate such as Instedit or Insted.
Optionally, under Repo Information enter a build script URL if you have one. For more information on how to create a build script read on here. Enter a Developer website and Support website if desired. This information will be displayed on the application's repo page. When using a free account, click Update as there will be no other options available for you.
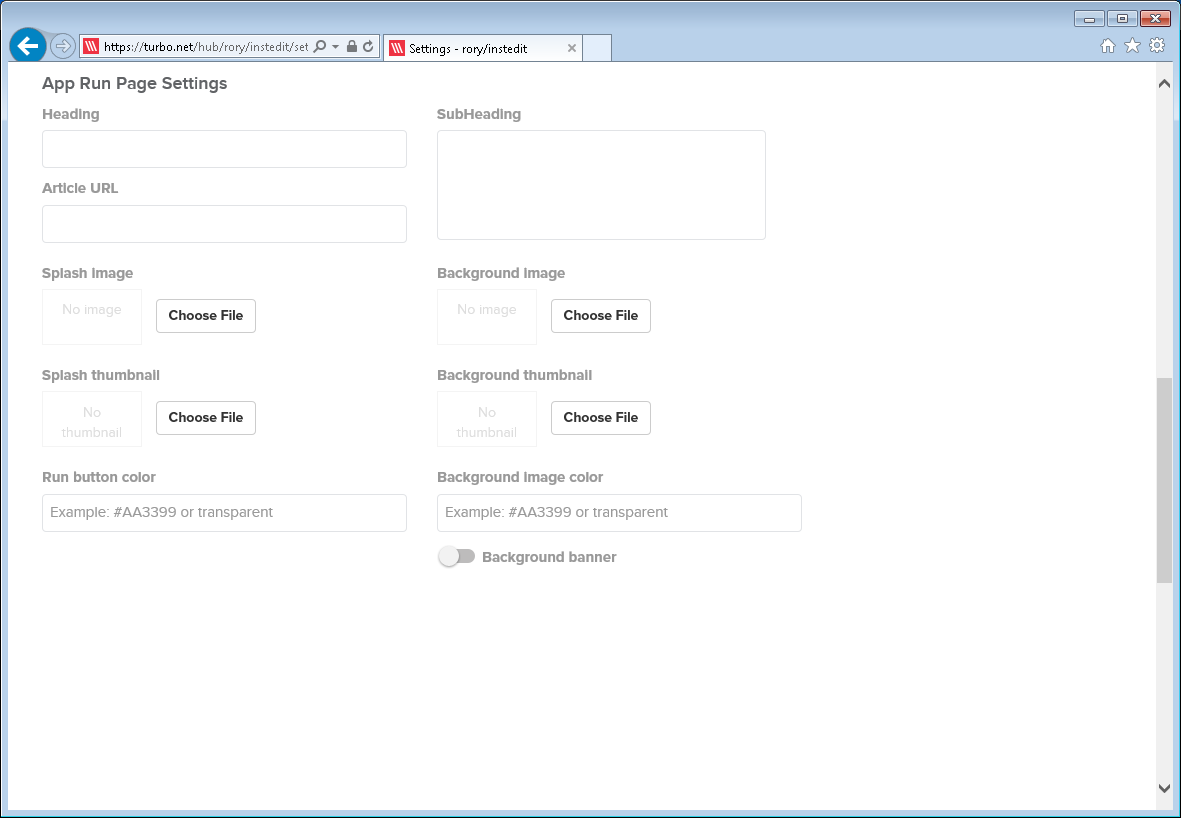
The Turbo.net Hub provides the ability to create custom run pages for applications. For an example of this, click here. The run page provides a great presentation and end user experience. If enabled, this run page can also be embedded within a website or blog. For an example of an embedded run page click here and scroll to the bottom of the page.
Enter a Heading, which will be the application name displayed to the end users. Enter a SubHeading which should contain a brief description of the application. Optionally enter an Article URL which will provide a hyperlink to a source page e.g. if you choose to host an application you created, you can link to your own hosted blog with information about the application.
Click on Choose File to upload a Splash image. (1033 x 752 px is a good size for this) This could be a static screenshot of the application or possibly an animated gif of the application being used. Click on Choose File to upload a Background image. Optionally repated these steps to upload a Splash thumbnail and Background thumbnail image.
Optionally, enter a Run button color and Background image color. This may be useful if the background you choose conflicts with the color of the button.
If you do not wish to use a Splash image you may choose to enable a Background banner. This will present a banner across the run page containing your run page information.
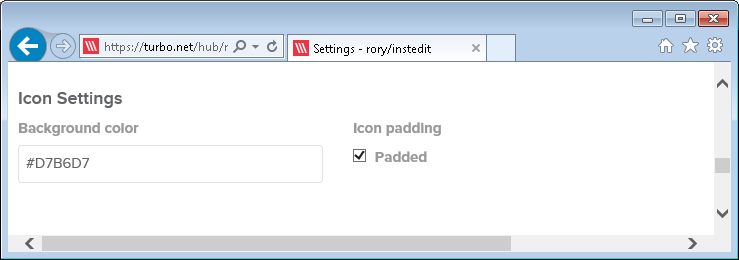
Navigate to Icon Settings and set a Background color. If the icon you uploaded has a white background, it is best to enter transparent as the value for the Background color. Optionally select if the icon should Padded. This will trim the edges of the image. In some cases, this can make certain icons look much better.
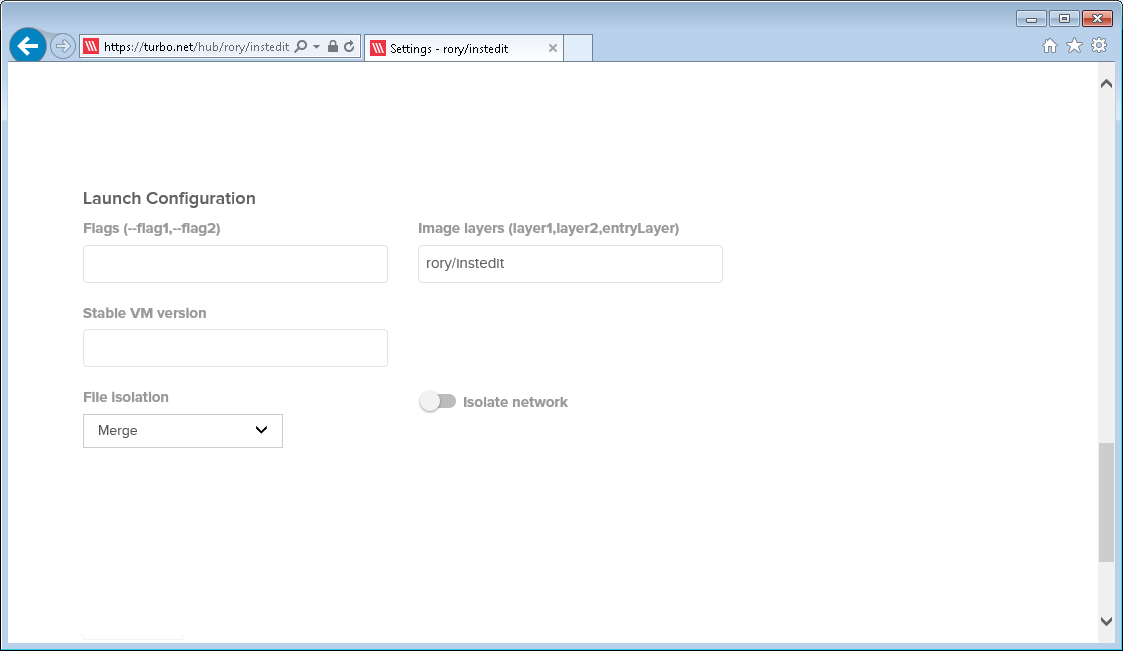
Navigate to Launch Configuration. If any additional flags are required for the application to function, enter these here. For a list of available flags read here. Enter additional Image layers if you wish to launch the application with other dependent images. Always ensure the application you wish to launch is in the last image in the list. Seperate each image you wish to layer with a comma.
To force the use of a certain version of the Turbo VM enter the version number under VM version.
In the above example, InstEd requires local file access. This can be permitted by setting File Isolation to Write Copy of Merge.
Enable Isolate network to isolate all tcp,udp and named object calls within the container.
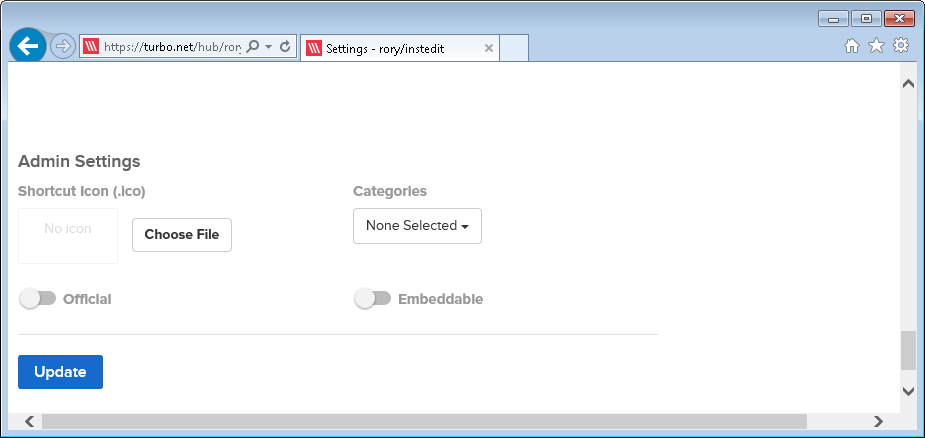
Navigate to Admin Settings. Under Shortcut Icon (.ico) click Choose File to upload an icon file for the application. Click on the dropdown menu for Categories to assign the relevant categories for the application to appear in on the Turbo.net Hub.
Enable the application as Official to ensure it can be found in Turbo Launcher and from a search on the Turbo.net Hub. Click Embeddable to allow the run page to be embedded on websites and blogs.
When complete. Click Update.
We are always looking for new applications to host on the Turbo.net Hub. If you would like to share your work with everybody, please reach out to us via Twitter: @turbohq or alternatively send us an e-mail to: [email protected].
Managing Containers
Once created, track and manage containers with these commands.
# List containers with base images, commands, creation date, and status
> turbo containers

ID           Images            Command       Created          Status
03bddd8bef   spoonbrew/clean   cmd           8/14/2014 1:03   Stopped
52hd888xa3   local/server-app  startup.bat   8/14/2014 1:00   Running

# Remove a specific container from the host system
> turbo rm 03bddd8bef

# Remove all containers
> turbo rm -a
Note that running containers must be stopped before being removed.
Processes and Stopping Containers
The life cycle of a container is controlled by the processes within that container. Processes in a container spawn as child processes of the Turbo VM executable, which manages the container environment.
When a process within a container exits or completes, the container exits as well.
# You can forcefully exit a container from the native command window
> turbo stop <container id>
This command kills the Turbo VM managing process along with any child processes.
You can also explicitly shut down a container from a command window running in the container by typing exit or entering Ctrl+C.
# If necessary, restart a closed container and specify the container ID
> turbo start 8dpp9eb5
Debugging
If you experience crashing or other issues with Turbo containers, here are several commands to help you debug and fix these problems.
# If your container unexpectedly crashes, enable diagnostic mode
> turbo run --diagnostic <image>

# Then fetch the logs created by the run
> turbo logs
This command returns logs of all the standard streams (STDIN, STDOUT, STDERR) for the specified container.
Please note that enabling diagnostic mode will cause your container to run slower than expected. Therefore we recommend only enabling this mode for diagnostic/debugging purposes.
# You can also debug by viewing changes to a container's filesystem and registry
> turbo diff 8dpp9eb5

# Similarly you can revert changes to get the container back to a running state or to debug changes
> turbo revert 8dpp9eb5