Okta with SAML 2.0
Turbo Server can be configured to allow users to log in via Okta Single Sign-On SSO using the SAML 2.0 authentication protocol.
For prerequisites and additional information about the SAML 2.0 authentication protocol, please refer to the SAML 2.0 Prerequisites section.
Configure Okta
The following section describes how to integrate Turbo Server with Okta using SAML 2.0.
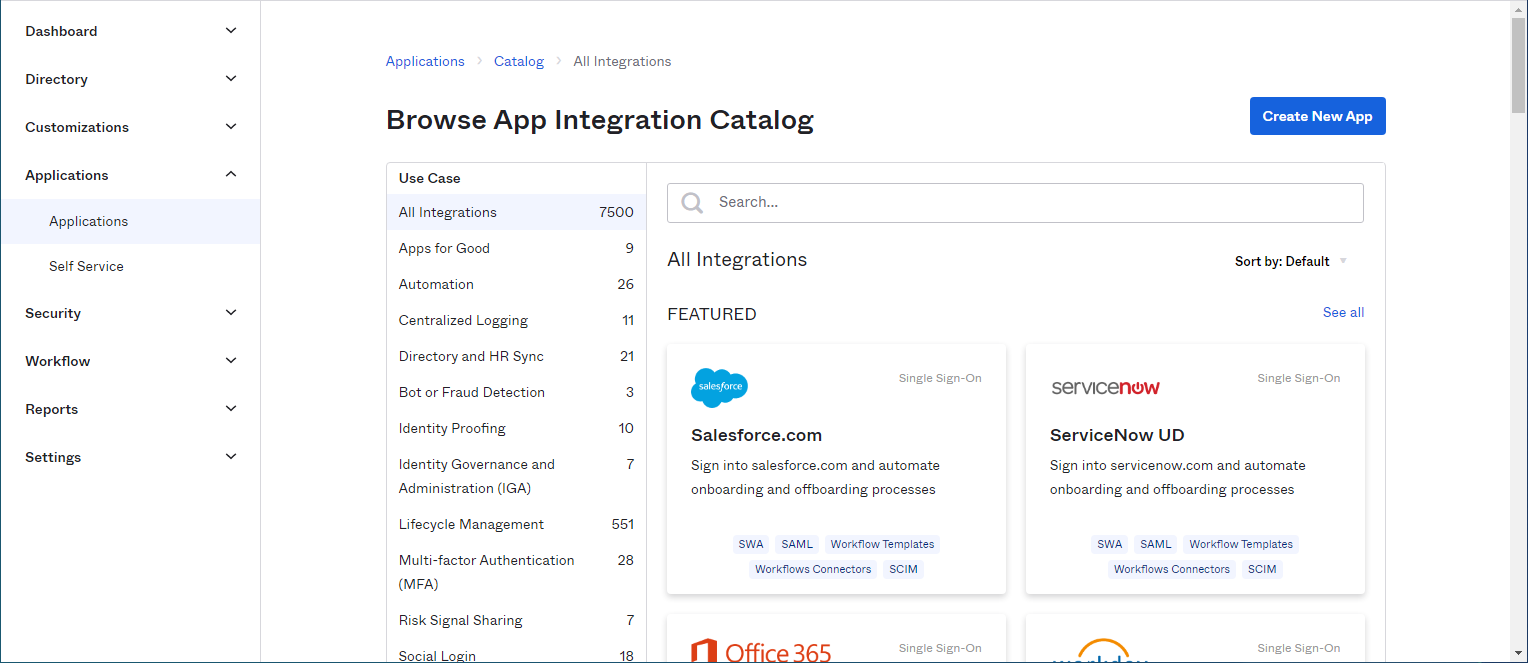
From your Okta Administration panel, go to the Applications section and click on Browse App Catalog, then click Create New App.
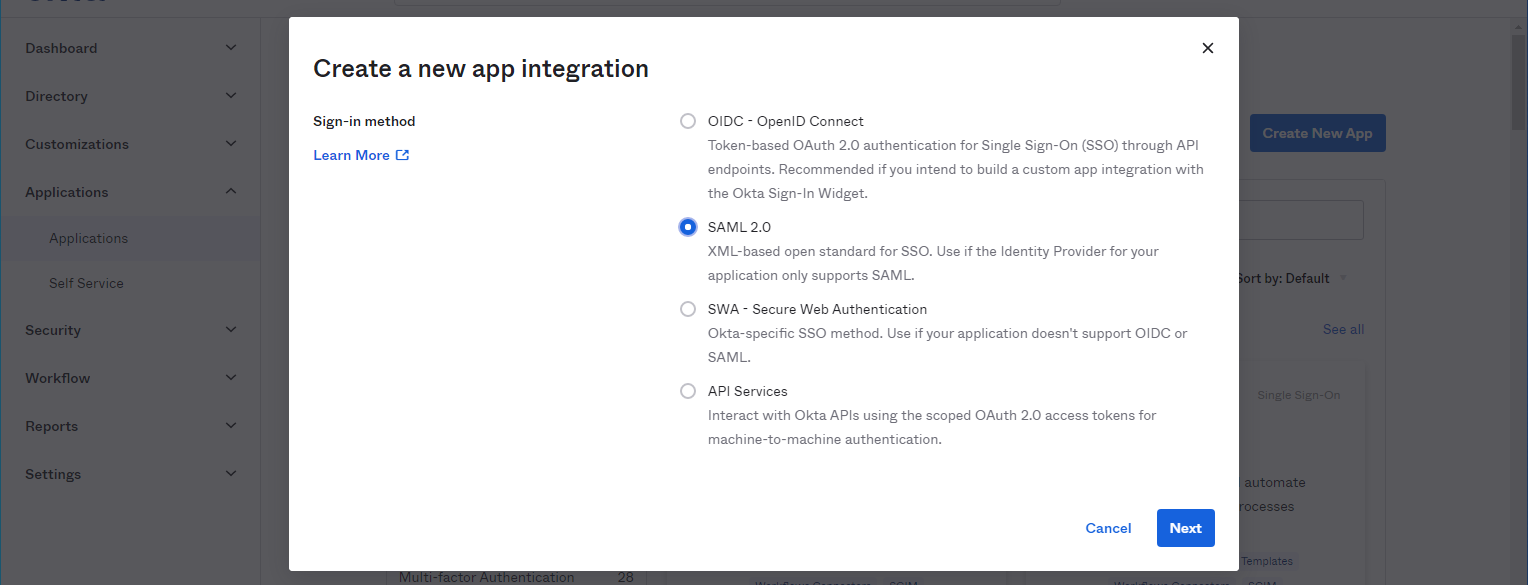
Select SAML 2.0 for Sign-in method and click Next.
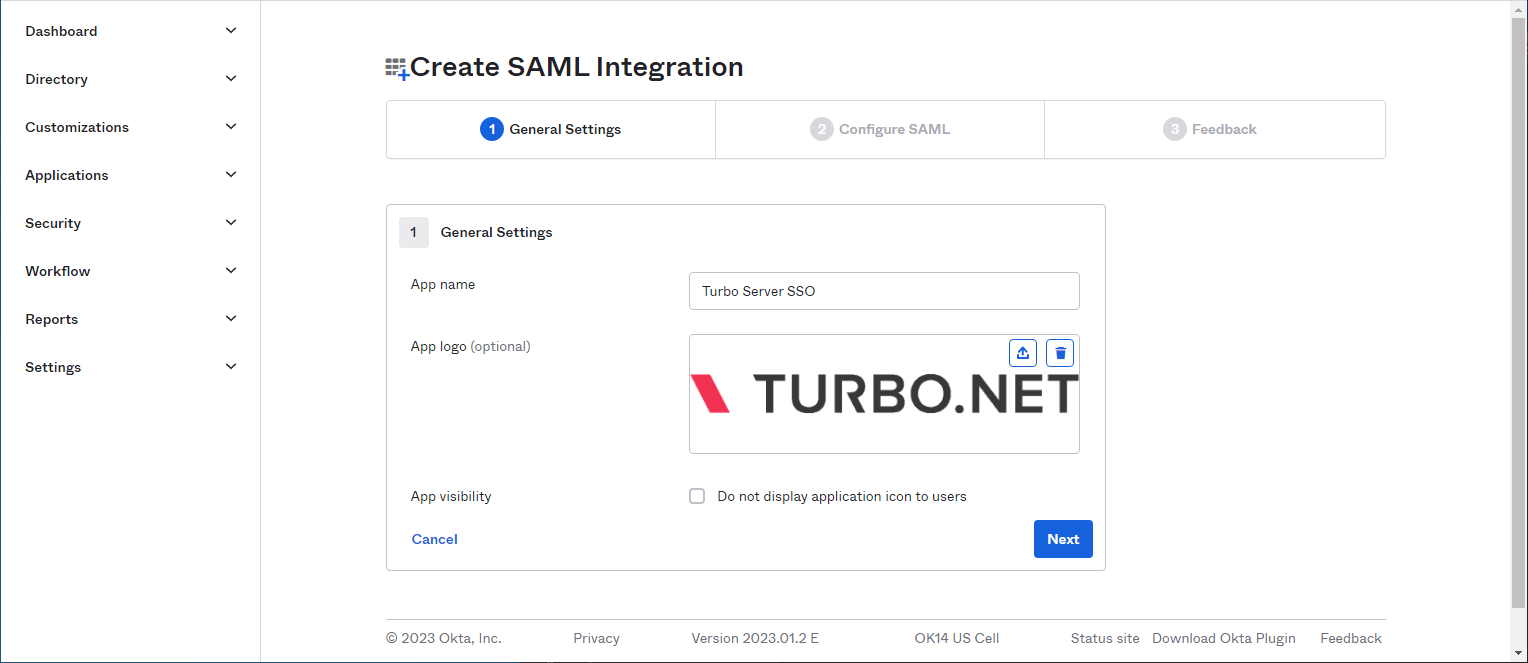
Enter the App name and App logo for SAML Integration. These items will be displayed on the Okta login page as well as the Okta dashboard.
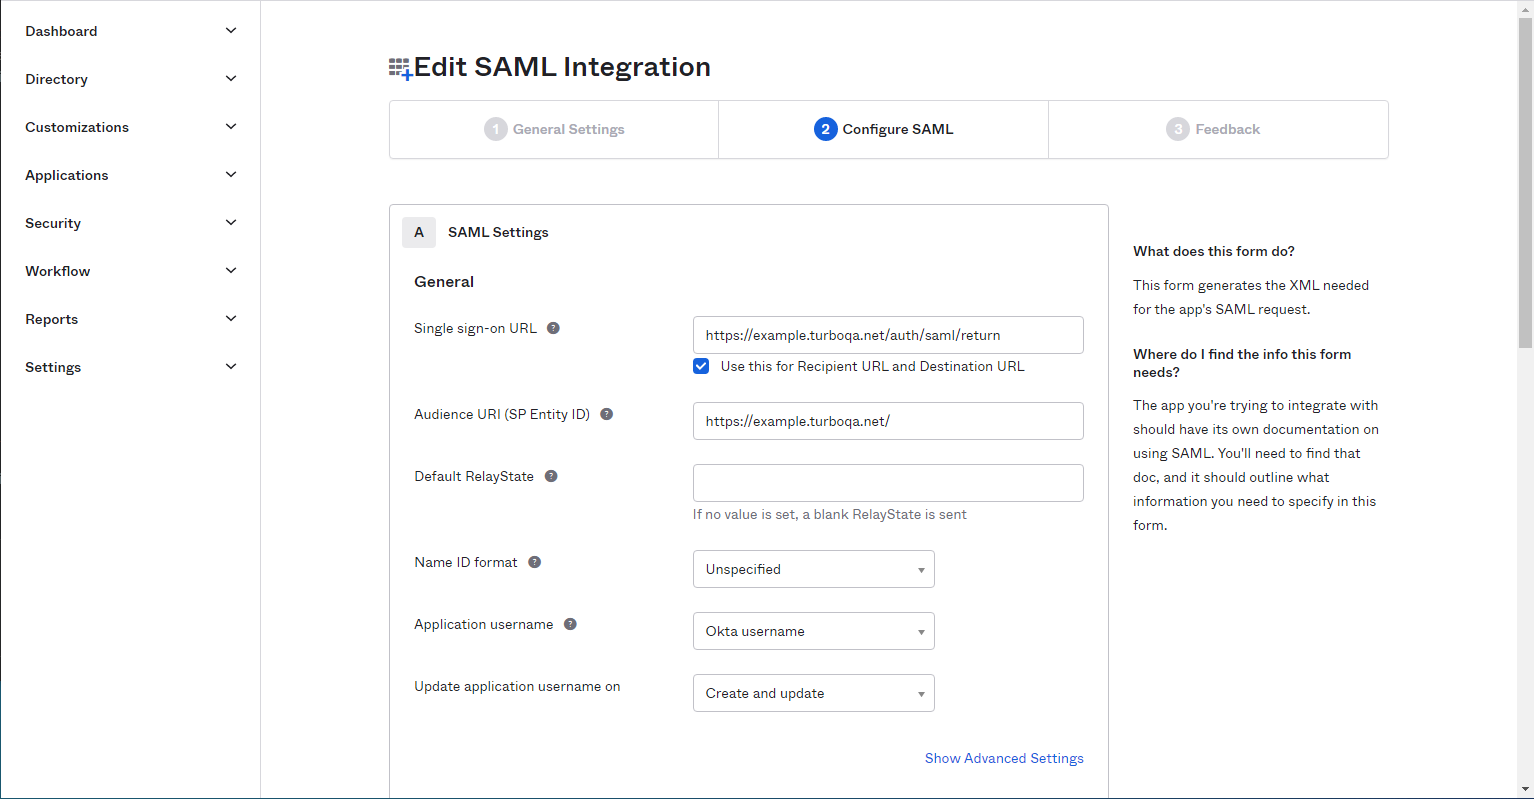
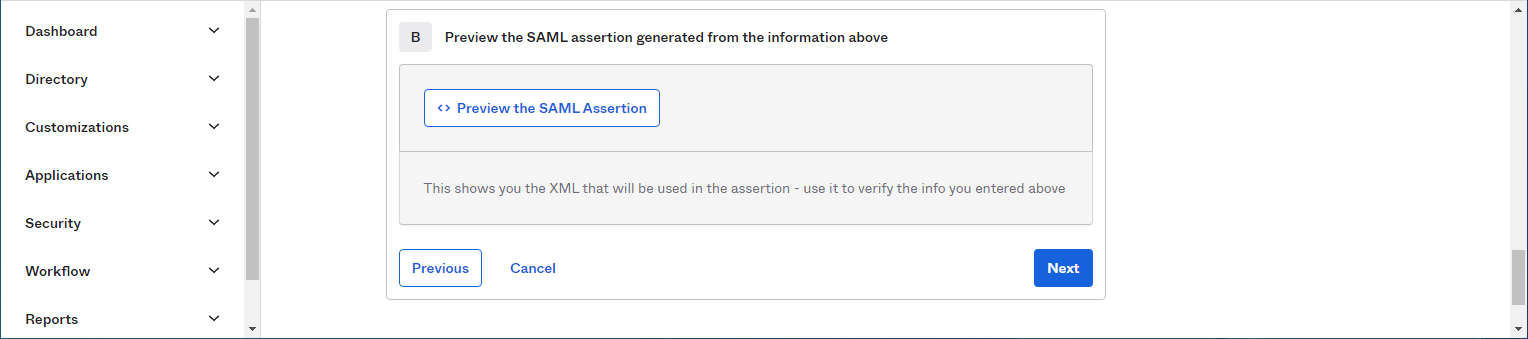
Configure the SAML settings for the SAML Integration.
-
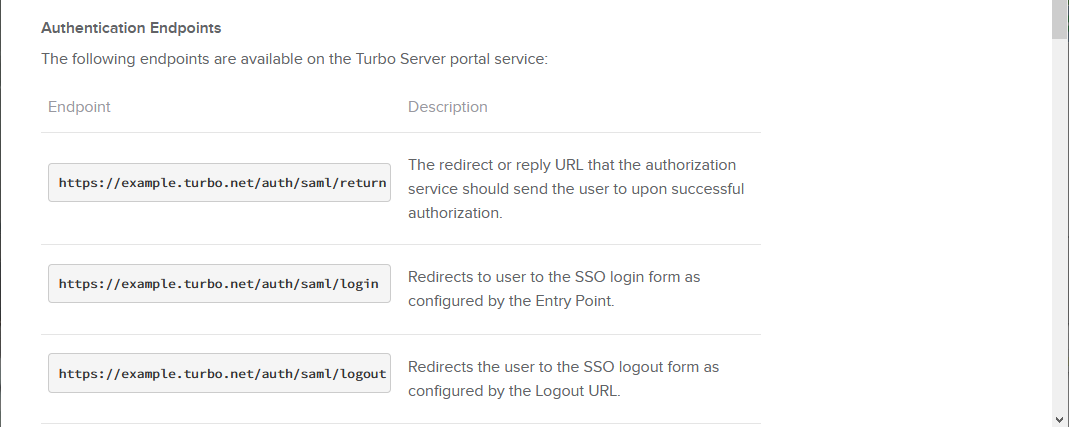
Single sign-on URL: Enter the Return Authentication Endpoint from your Turbo Server Admin Portal > Users > Authentication Method page. Example: https://example.company.com/auth/saml/return
-
Audience URI: Enter the unique identifier that will be the audience of the SAML response, typically your Turbo Portal URL or Domain URL. Example: https://example.company.com
-
Attribute Statements
- Given Name: The claim that will be used for the user's first name display in Turbo Server. This claim must have the following properties:
- Name: http://schemas.xmlsoap.org/ws/2005/05/identity/claims/givenname
- Name format: URI Reference
- Value: user.firstName
- Surname: The claim that will be used for the user's last name display in Turbo Server. This claim must have the following properties:
- Name: http://schemas.xmlsoap.org/ws/2005/05/identity/claims/surname
- Name format: URI Reference
- Value: user.lastName
- Given Name: The claim that will be used for the user's first name display in Turbo Server. This claim must have the following properties:
-
Group Attribute Statements
- Group: The group claim that will be used to assign group membership for the user in Turbo Server. This claim must have the following properties:
- Name: http://schemas.xmlsoap.org/claims/group
- Name format: URI Reference
- Group: The group claim that will be used to assign group membership for the user in Turbo Server. This claim must have the following properties:

Click Next.
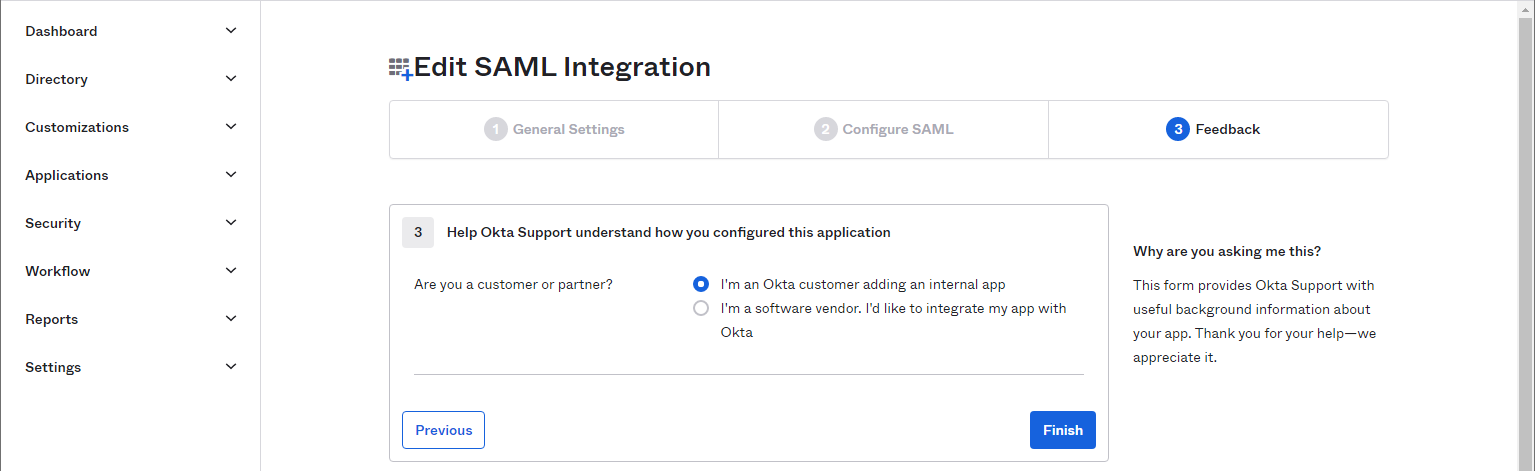
Select I’m an Okta customer adding an internal app and click Finish.
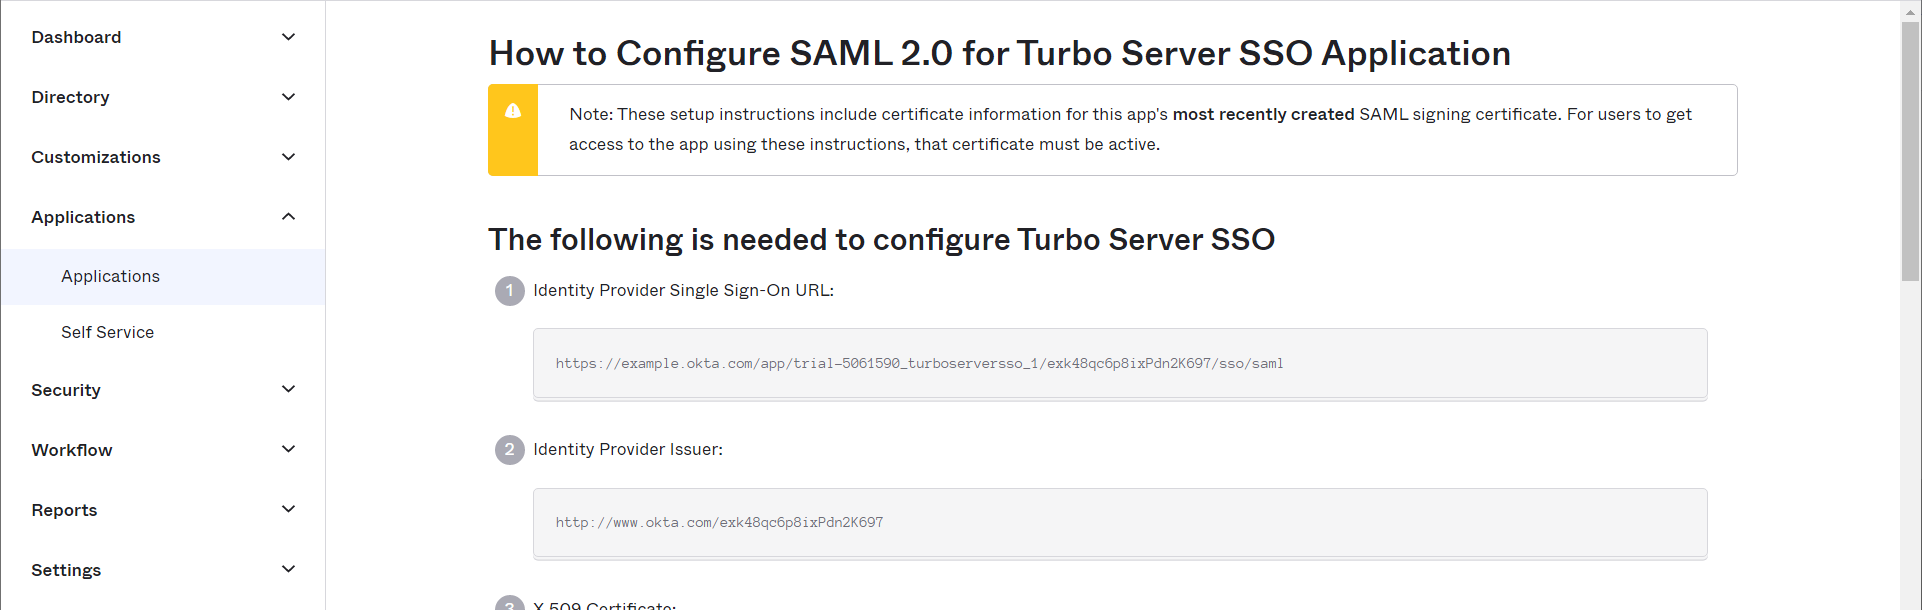
From the Sign On tab, download your SAML Signing Certificate and then click on View SAML setup instructions. You may change the extension of the downloaded certificate file to .CRT or .CER to make it recognizable as a certificate file in Windows.
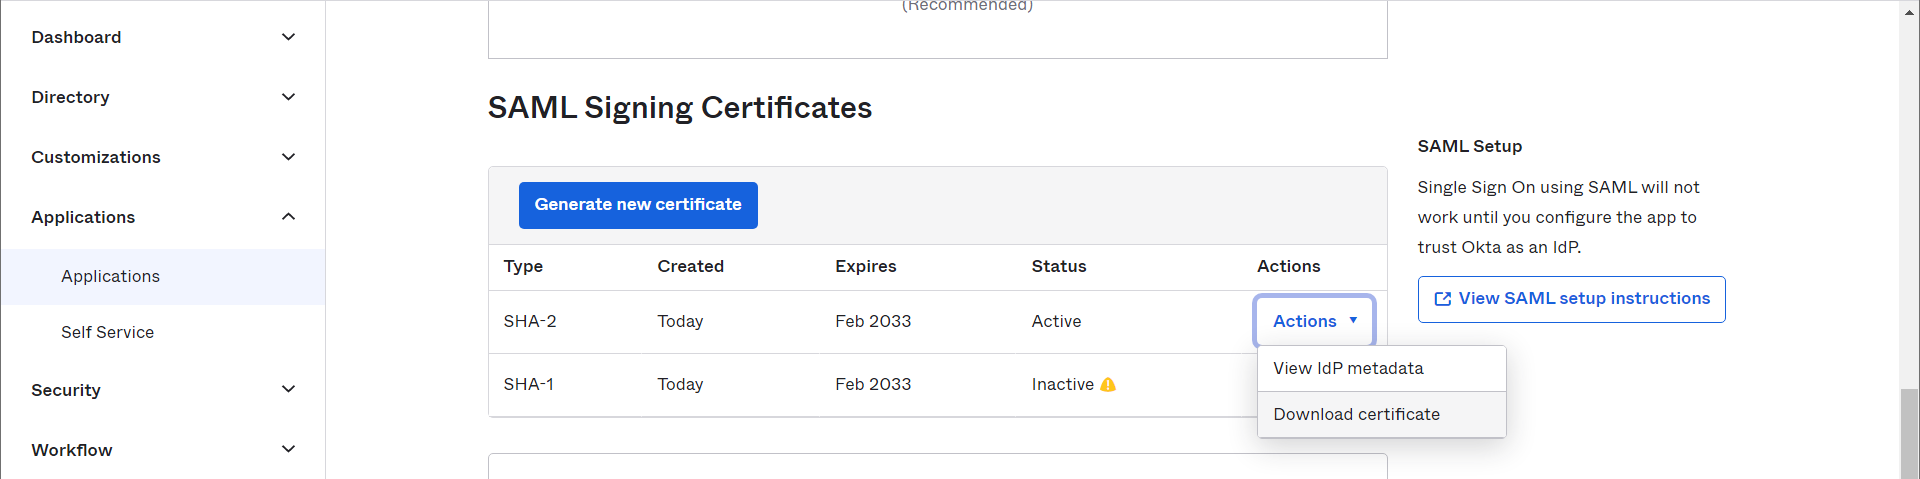
Record the Identity Provider Single Sign-On URL and Identity Provider Issuer values.
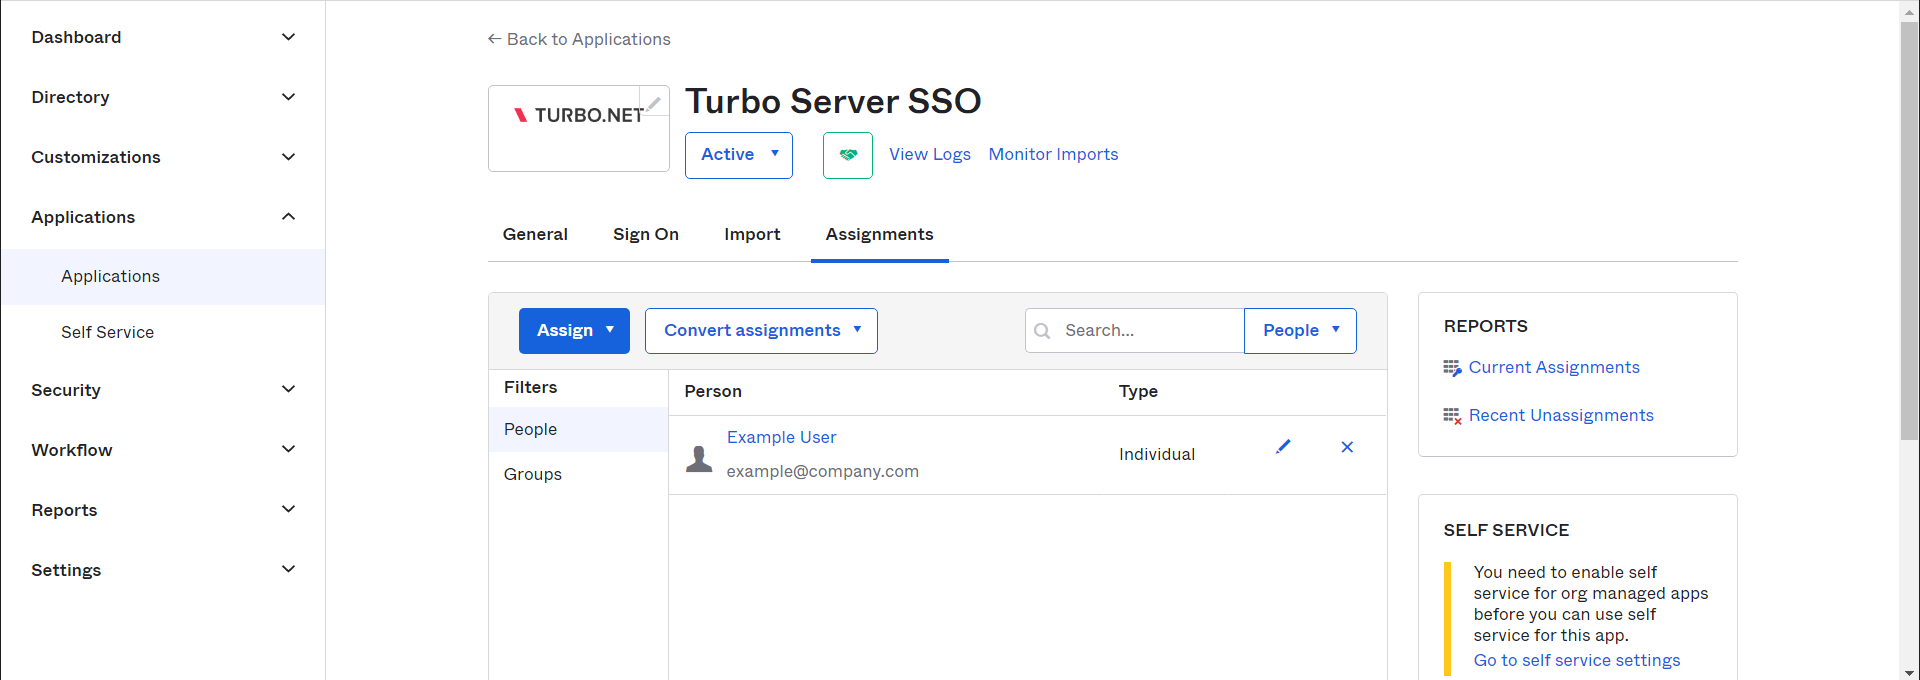
From the Assignments tab, grant access to users or groups who should be able to access the Turbo Server SSO.
Configure Turbo Server
Open the Turbo Server administration site and navigate to the Users > Authentication Method page.
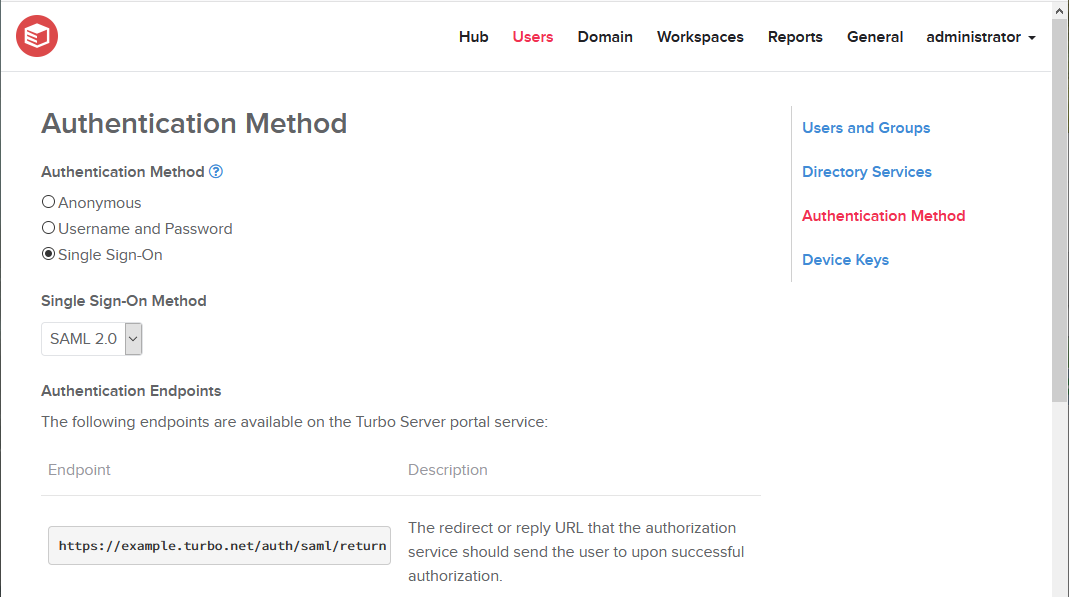
Set the Authentication Method to Single Sign-On.
Set the Single Sign-On Method to SAML 2.0.
Configure the following fields:
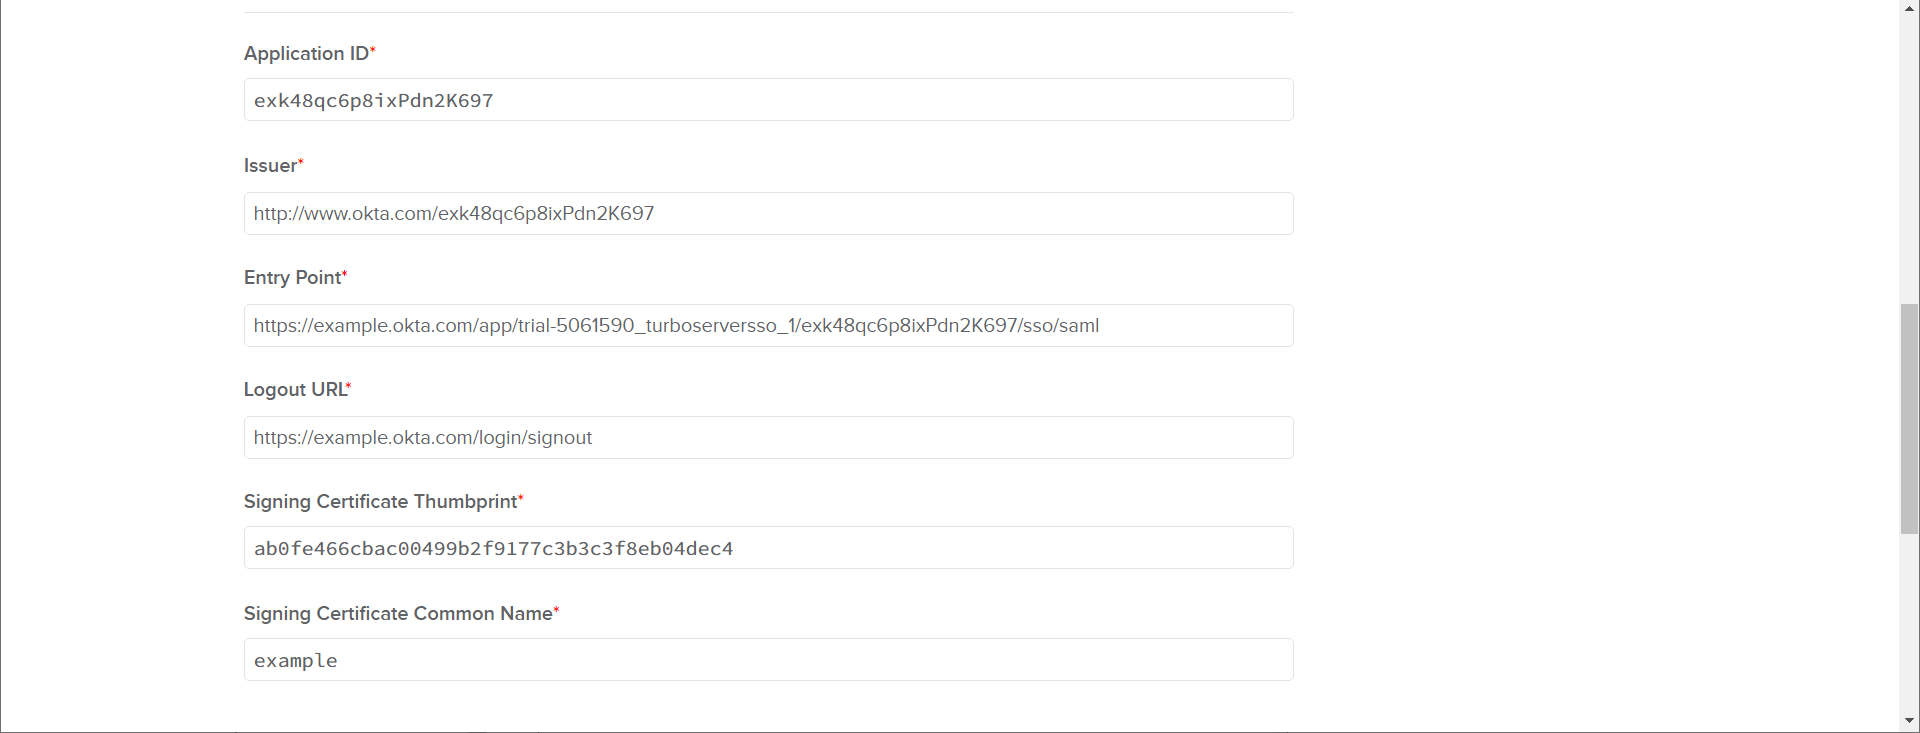
- Application ID: Enter the Okta App Integration ID. This value is identified in the last segment of the Identity Provider Issuer value from Okta that was recorded earlier.
Example: exk48qc6p8ixPdn2K697 - Issuer: Enter the Identity Provider Issuer value from Okta that was recorded earlier.
Example: http://www.okta.com/exk48qc6p8ixPdn2K697 - Entry Point: Enter the Identity Provider Single Sign-On URL value from Okta that was recorded earlier.
- Logout URL: Enter the Okta logout URL for your company.
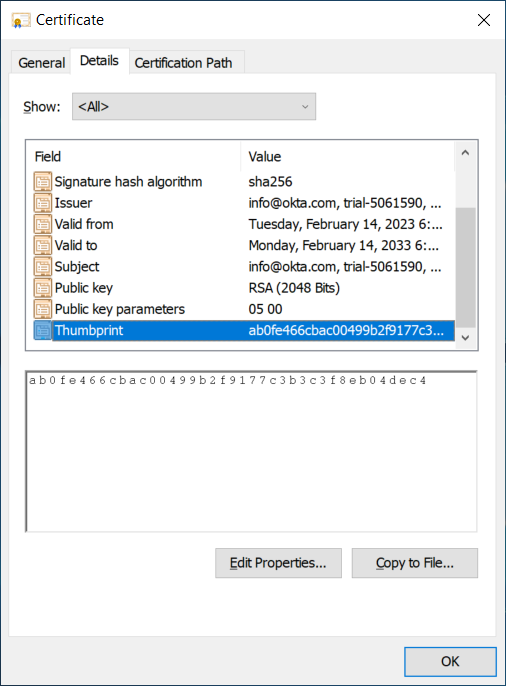
Example: https://example.okta.com/login/signout - Signing Certificate Thumbprint: Enter the thumbprint value that is listed in the SAML Signing Certificate under Details > Thumbprint.
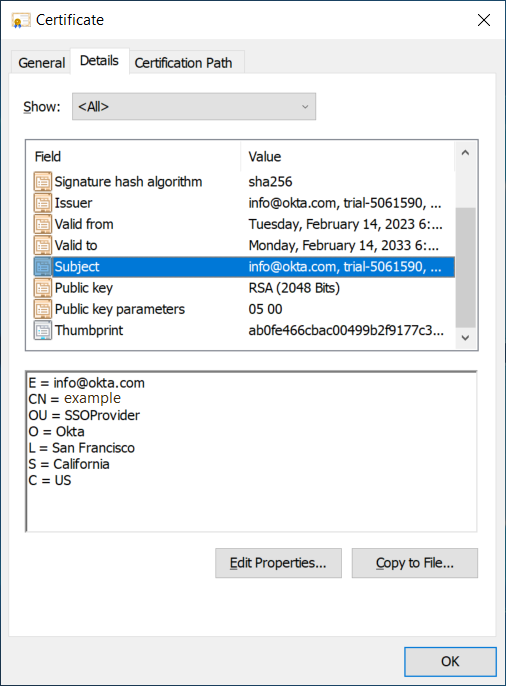
- Singing Certificate Common Name: Enter the common name value that is listed in the SAML Signing Certificate under Details > Subject > CN.


Install SAML Signing Certificate on Turbo Hub
The SAML Signing Certificate is used by Turbo Server to ensure that the SAML response is signed by the expected identity provider. This certificate was downloaded in the previous steps and must be manually installed on the Hub server.
Login to the system where the Turbo Hub role is installed on as an administrator. Install the certificate with the following steps:
- Select Run from the Start Menu and enter mmc.
- Click on File then click Add/Remove Snap In.
- Select the Certificates option then click Add.
- Select Computer account, select Local computer, and then complete the dialog.
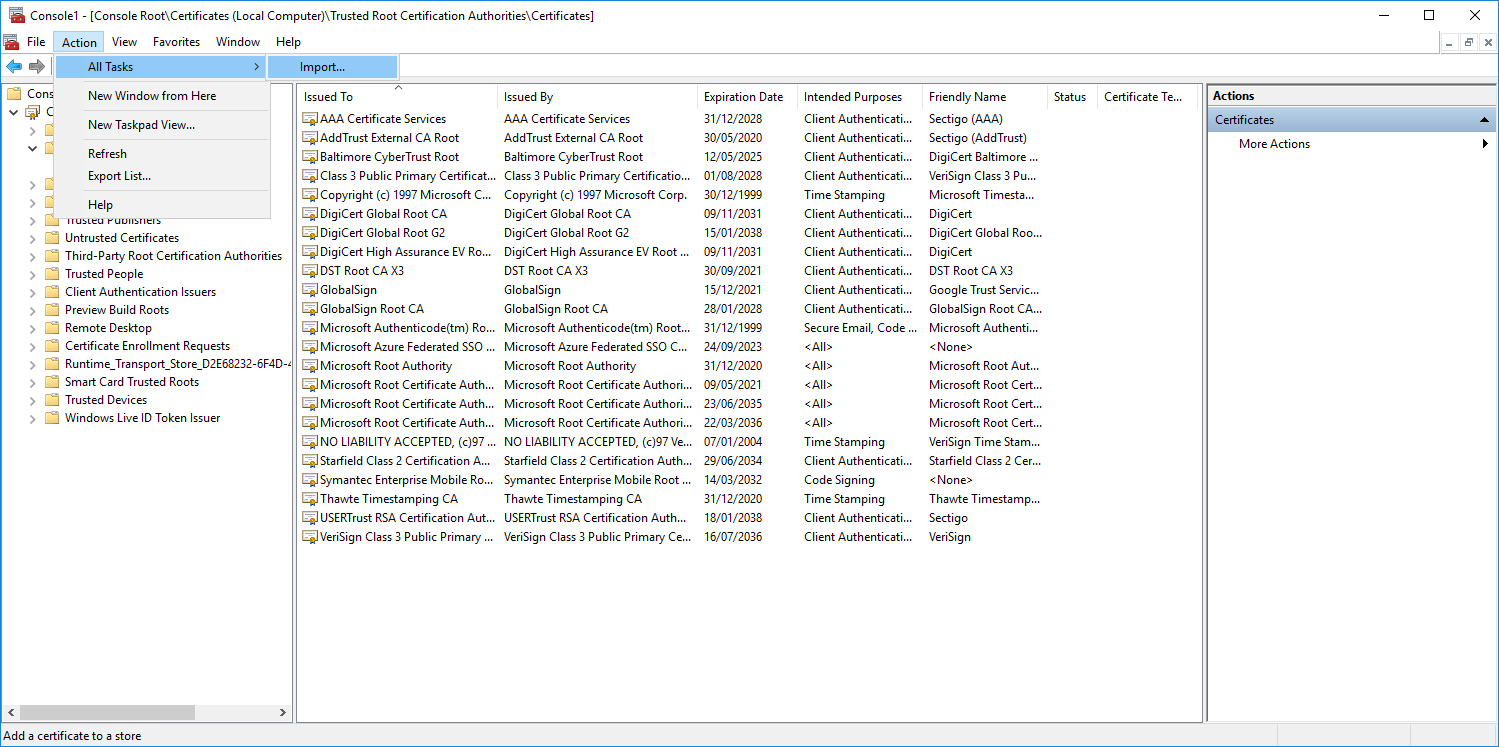
- Click on the new Certificates Snap In, then click All Tasks > Import...
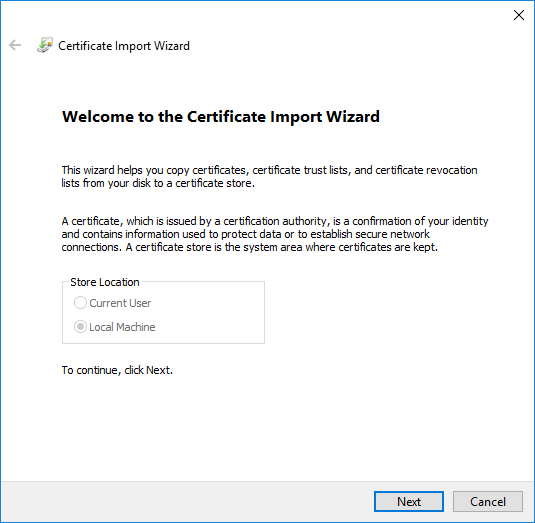
- Select Local Machine and click Next.
- Select your SAML Signing Certificate and click Next.

- Select Place all certificates in the following store, select Trusted Root Certificate Authorities, and then click Next.
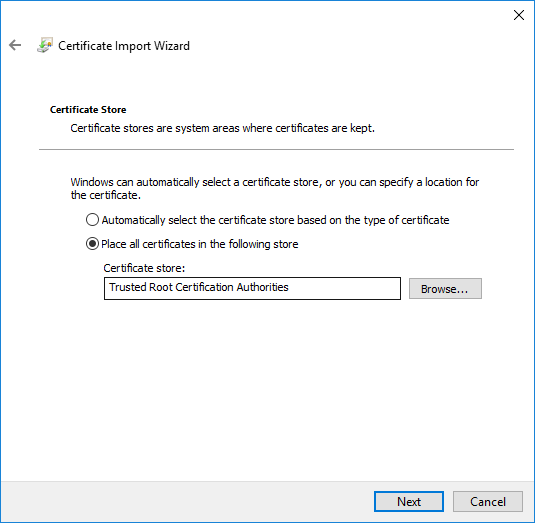
- Complete the rest of the import wizard with the default options.


Once installed, Turbo Server portal logins should now complete successfully.
Troubleshooting
Please refer to the SAML 2.0 Troubleshooting section.