Virtual Desktop Infrastructure
The following documentation describes how to setup Turbo Server in a Virtual Desktop Infrastructure (VDI) environment.
Windows Virtual Desktop
The following are required to add applications from a Turbo Server workspace to Microsoft Windows Virtual Desktop (WVD) session hosts in Azure:
- Shared image disk
- Turbo Client installed and configured
Shared Image Disk
A shared image disk is a central repository of the application images. A central repository is recommended to reduce the application image transfers and to save disk space on the WVD session hosts.
An Azure managed disk with sharing enabled can be used for this purpose and can be created with the Azure CLI or the Azure Portal:
Azure CLI:
az disk create -g <wvd-resource-group> -n <sharedimagedisk-name> --size-gb 1024 -l <azure-location> --sku Premium_LRS --max-shares
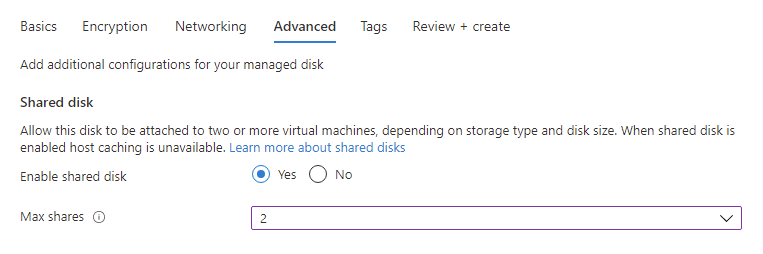
Azure Portal:
Follow the Azure documentation to create a managed disk and be sure to set Enable shared disk and set the Max shares to an appropriate number. https://docs.microsoft.com/en-us/azure/virtual-machines/windows/attach-managed-disk-portal#add-a-data-disk
Note: Different disk sizes may have a different max shares limit. https://docs.microsoft.com/en-us/azure/virtual-machines/disks-shared
The shared image disk will need to be attached to each WVD session host. This can be accomplished with the following methods:
-
Manually attach the disk to the WVD sesison hosts: https://docs.microsoft.com/en-us/azure/virtual-machines/windows/attach-managed-disk-portal#add-a-data-disk
-
Attach the disk during deployment via an Azure Resource Management Template:
  "dataDisks": [
      {
          "lun": 0,
          "createOption": "attach",
          "caching": "None",
          "writeAcceleratorEnabled": false,
          "managedDisk": {
              "id": "/subscriptions/b11ccec5-c64c-4633-8e45-5dfd5db5e408/resourceGroups/path/to/shared-image-disk/providers/Microsoft.Compute/disks/<sharedimagedisk>"
          }
      }
  ]
Turbo Client
The following are needed to setup the Turbo Client on the WVD session hosts:
- Install the Turbo Client and point to the Turbo Server URL
- Login to Turbo Server with the Turbo Client
- Subscribe to the applications in a workspace
These commands can be run manually if the session host VM images are deployed from a custom image, added to an image builder configuration (i.e Packer), or run automatically during session host VM deployment with the Azure Custom Script Extension.
Sample command to install the Turbo Client, set the Turbo server URL, and set the image path to the shared image disk created above:
turbo-client-setup.exe --all-users --silent --domain=<turbo-server-url> --add-trusted-source=<turbo-server-url> --image-path=<path-to-sharedimagedisk>
Sample commands to login to the Turbo Server with a user account or an API key:
turbo.exe login --all-users
turbo.exe login --all-users --api-key=<api-key>
Turbo Subscribe is used to add all the applications from a workspase on to the local computer. Here is a sample command to subscribe to the applications in a Workspace:
turbo.exe subscribe --all-users <workspace>
WVD Portal
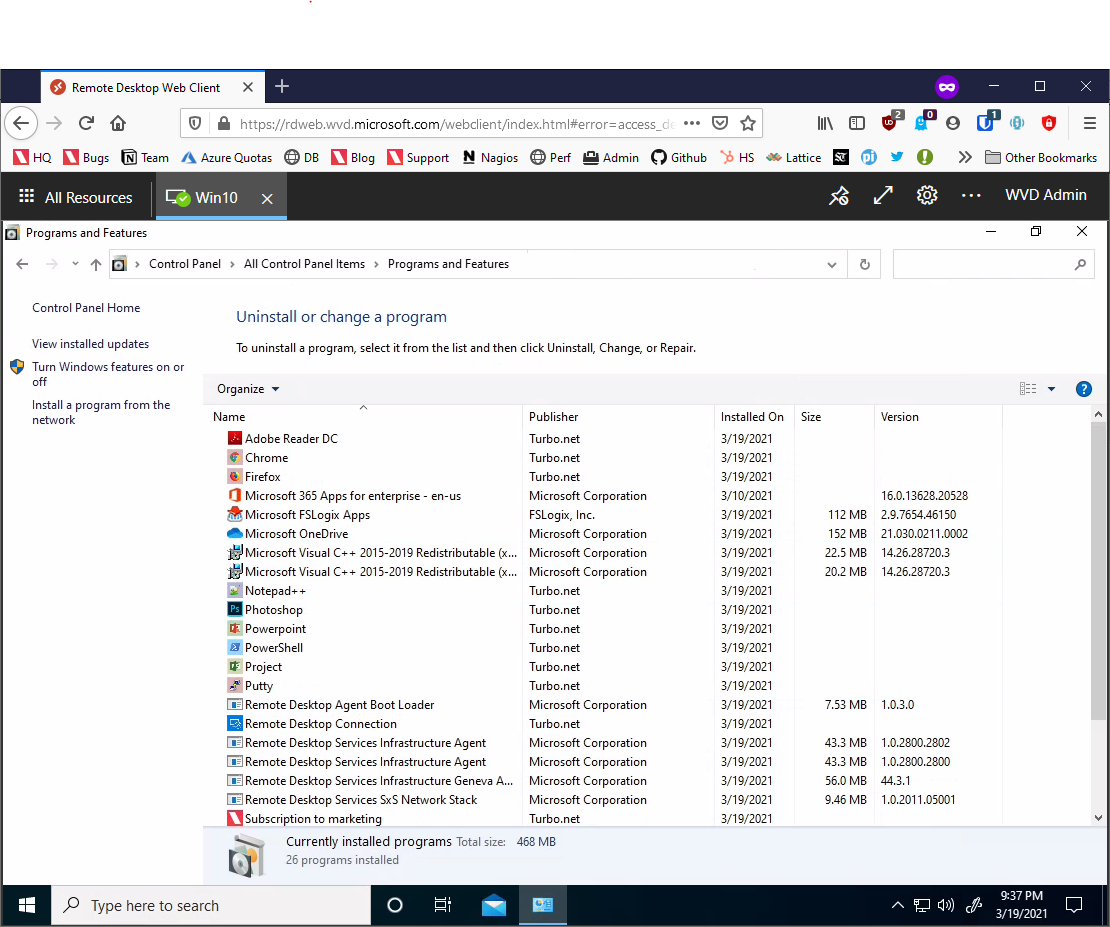
When the above steps are complete the applications from the Turbo Server workspace will be visible on the WVD session hosts. Access these hosts via the WVD Portal.
Refer to the Turbo Server workspace or Add/Remove Programs application on the WVD session hosts to verify which application were added.